Introduction
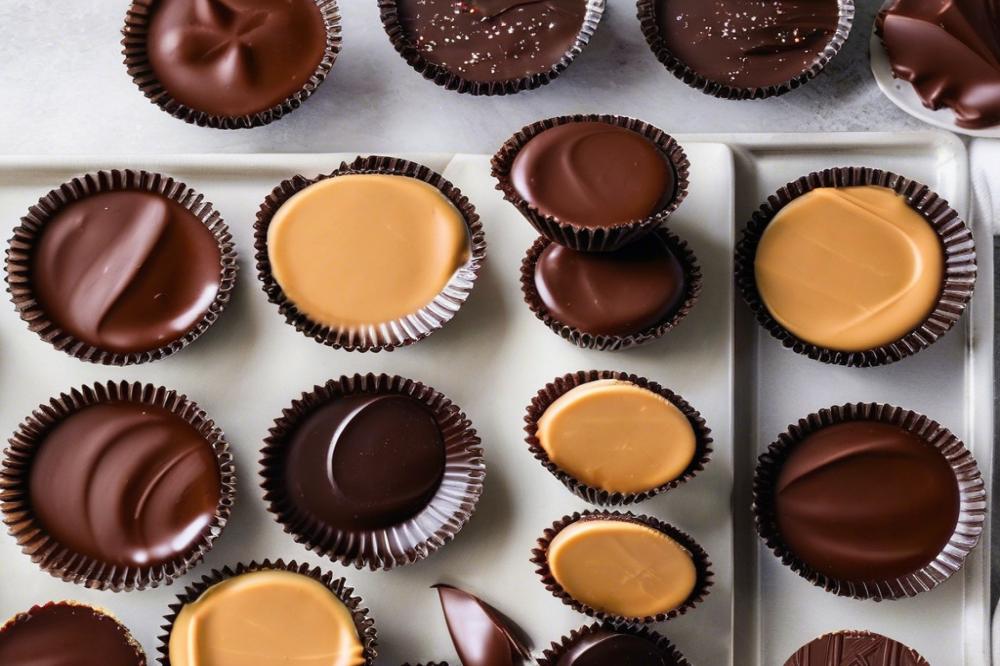
Chocolate Peanut Butter Cups are a delicious combination of rich chocolate and creamy peanut butter, creating a beloved treat for many. These little delights are not just a dessert; they are a snack that brings joy and satisfaction. They stand out among countless chocolate desserts because of their iconic flavors and textures.
In today’s world, sweets play a significant role in our lives. People often crave something sweet to brighten their day, and chocolate desserts are especially popular. The blend of sweetness and richness resonates with many, making these treats a go-to choice for celebrations or simply to enjoy during relaxation time.
Making Homemade Candy can offer a rewarding experience. Creating your own snacks allows for customization, ensuring you get all your favorite flavors and ingredients. Crafting sweets in your kitchen can be a fun activity for family or friends. Plus, it feels good to know what goes into your treats.
This easy recipe for no-bake Chocolate Peanut Butter Cups is perfect for beginners. It requires minimal time and effort, making it easy to whip up a batch for yourself or loved ones. With just a few simple ingredients, you can indulge in a sweet, satisfying snack that rivals store-bought options. Handmade desserts carry a special touch that adds to their charm.
Understanding the Ingredients
To create your own delicious chocolate peanut butter cups, you’ll need a few primary ingredients. Start with chocolate. You can choose from dark, milk, or even white chocolate based on your taste preferences. Each type adds a different flavor to your treats.
Peanut butter is another key component. Options like creamy or crunchy peanut butter offer variety. Creamy spreads smoothly throughout the cups, while crunchy adds a delightful texture. Consider what texture you enjoy most in your sweets.
For sweetness, various options are available. Powdered sugar is a classic choice, but honey can provide a more natural sweetness. Maple syrup could work as well for those seeking an alternative. Explore these choices and find the one that suits your dessert best.
Optional Ingredients for Customization
Add some personality to your handmade creations with optional ingredients. A sprinkle of sea salt can enhance the chocolate flavor. A few drops of vanilla extract might bring out new layers in the peanut butter. Crushed nuts can also be folded into the peanut butter for extra crunch. These additions take the desserts to a new level of enjoyment.
Importance of Quality Ingredients
Using high-quality ingredients is essential for achieving the best results. Fresh chocolate melts beautifully and creates a smooth, shiny finish. Premium peanut butter offers rich flavor and creamy texture, elevating your no-bake snack. Better ingredients lead to more delightful treats, making your efforts worthwhile.
As you gather your supplies in the kitchen, remember that every ingredient matters. Each choice influences the overall taste and texture of the final product. Quality ingredients transform an easy recipe into an indulgent chocolate experience.
Step-by-Step Guide to Making Chocolate Peanut Butter Cups
Preparation of the Kitchen and Tools Needed
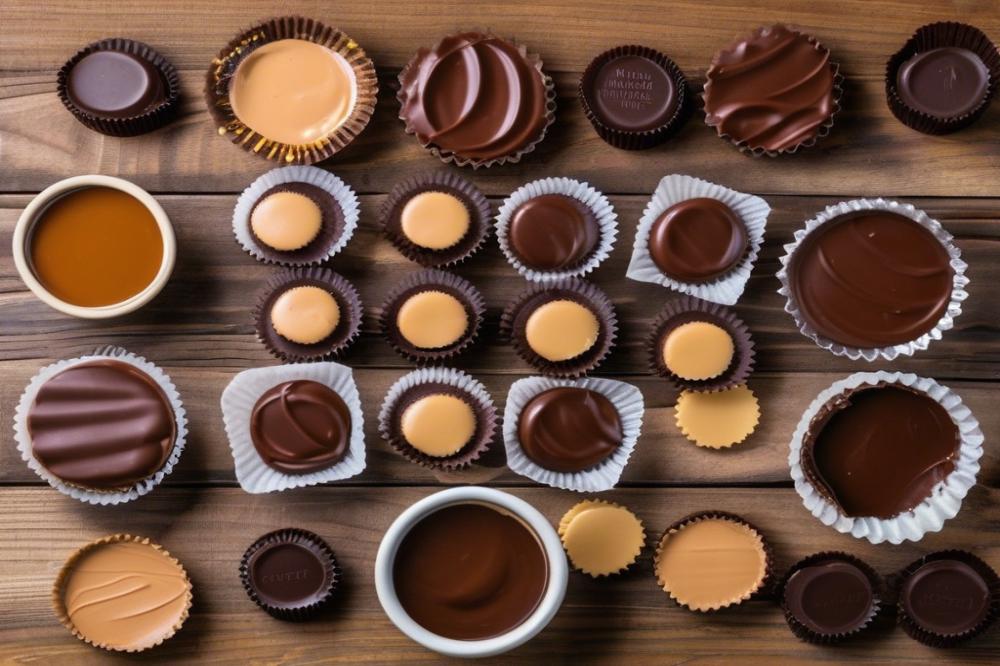
Creating your own chocolate treats starts with an organized kitchen. Gather necessary tools first. A microwave-safe bowl or a double boiler will be essential for melting chocolate. Use a whisk or spoon for stirring. You will also need a muffin tin with liners, which helps shape the cups nicely. Don’t forget measuring cups for the peanut butter and powdered sugar. Lastly, have some parchment paper ready for easy cleanup.
Melting and Tempering Chocolate
To melt chocolate, chop it into small pieces. This helps it melt evenly. Place the chocolate in your prepared bowl. If using a microwave, heat in short bursts of 30 seconds, stirring in between. Tempering chocolate can be a bit tricky, but it’s not necessary for the cups. However, smooth chocolate will make your sweets even more appealing. If you prefer, melt in a double boiler over simmering water for better control. Stir until fully melted and shiny, giving it a perfect texture.
Creating the Peanut Butter Filling
Peanut butter filling is simple to prepare. Mix creamy peanut butter with powdered sugar in a bowl. Stir until well combined, creating a thick, sweet mixture. The flavor can be enhanced with a pinch of salt or a dash of vanilla extract if you like. Adjust the sweetness by adding more or less powdered sugar. The filling should be smooth but firm enough to hold its shape in the cups.
Layering Process for Cups
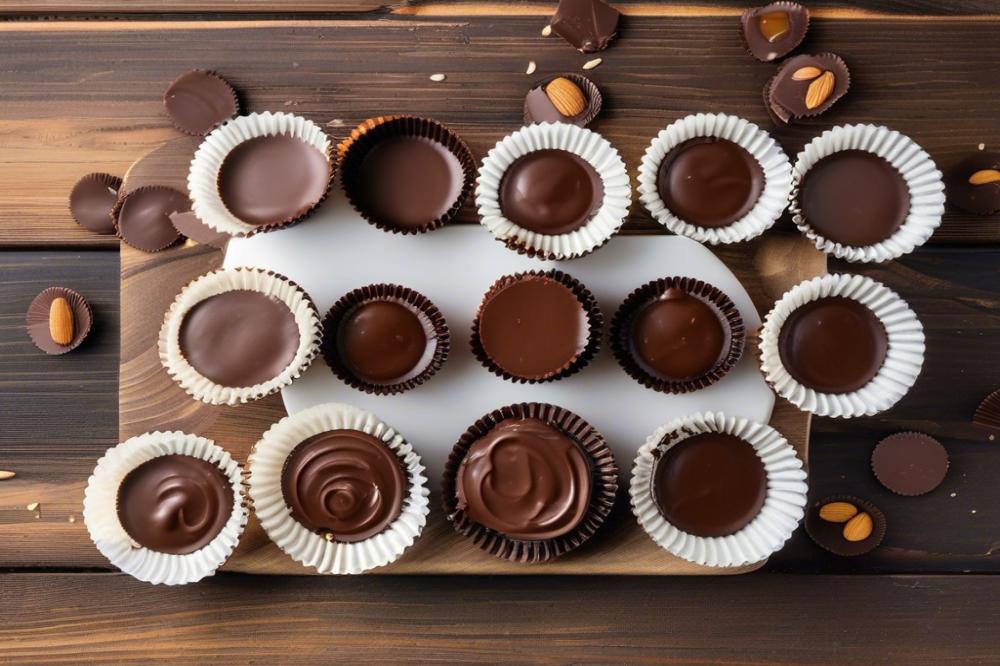
The layering process is key to building the perfect treat. Start by pouring a small amount of the melted chocolate into each cupcake liner. Use just enough to cover the bottom, forming a base. This first layer should be a few millimeters thick. Place the tin in the freezer for about 10 minutes to set the chocolate. Once firm, it’s time to add the peanut butter filling. Scoop spoonfuls of the mixture into each cup, making sure to leave space for more chocolate on top. Flatten the filling gently, so it creates an even surface.
After adding the filling, pour chocolate over each cup to seal it all in. Be careful not to overfill; you want each cup to have a balanced layer of chocolate. The chocolate must perfectly cover the peanut butter, hiding it from view while creating a tempting treat. Another trip to the freezer is necessary for about 15 minutes, allowing everything to harden completely.
Tips for Achieving a Smooth Finish
Achieving a smooth finish is all about your chocolate technique. First, try not to get any water in the chocolate; it can cause it to seize and become grainy. Stir the chocolate well to avoid lumps. If you find the mixture is too thick, add a teaspoon of coconut oil to help with consistency. When pouring, a spoon can offer more control than just dumping it in. Move quickly but carefully, ensuring even coats. Once set, remove the cups from the muffin tin gently. Peeling off the liners should be easy if the chocolate is properly set.
Creating this easy recipe at home will provide a delicious dessert you can enjoy anytime. Your handmade chocolate peanut butter cups will make perfect snacks or delightful sweets to share with friends and family.
Chilling and Setting the Treats
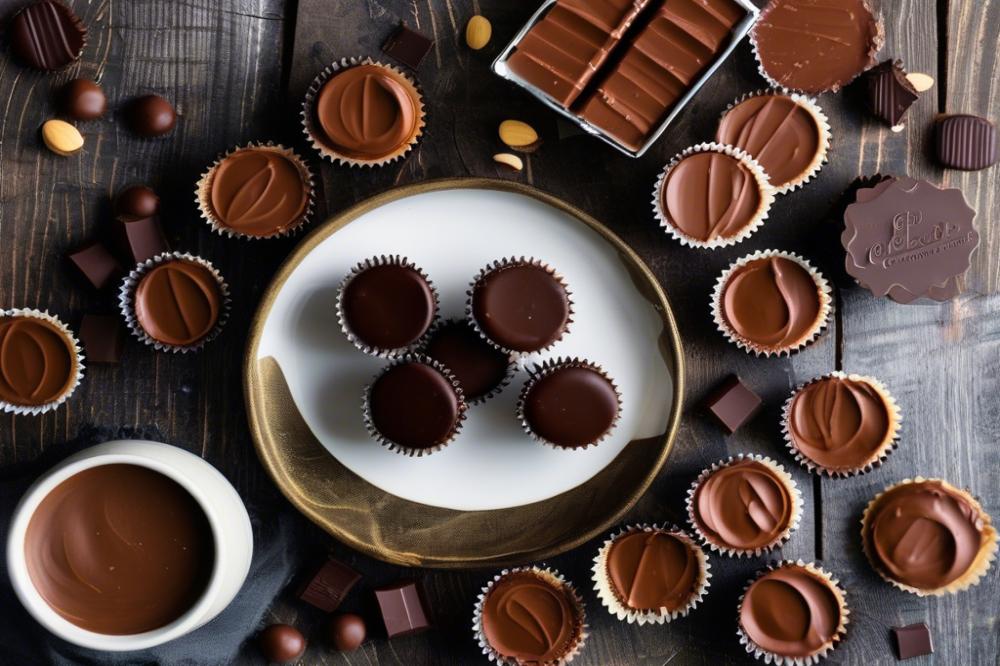
Chilling time plays a crucial role in making perfect homemade sweets. When you prepare decadent chocolate peanut butter cups, patience is key. After pouring the chocolate into your molds, letting it chill properly ensures a firm texture. If you skip this step, you might end up with a messy treat that won’t hold its shape. It’s important to give them time to set up good and solid.
The optimal temperature for setting treats like these is around 32°F to 40°F (0°C to 4°C). Keeping them in the refrigerator is the best approach. When chocolate cools down in a cold environment, it hardens beautifully. Avoid placing them in the freezer unless you’re in a hurry. Freezing can sometimes lead to an uneven texture, and you do not want that. Enjoying your no-bake dessert means getting the texture just right.
How do you know when your treats are ready to be served? A simple touch test can help. When the chocolate feels firm and slightly cool to the touch, it’s a good indication. Additionally, popping one out of the mold can confirm their readiness. If it maintains its shape, you’ve done well. Once they’re set and ready, you can proudly share your handmade snacks with family and friends.
Serving and Enjoying Your Chocolate Peanut Butter Cups
Ideas for Presentation and Serving Options
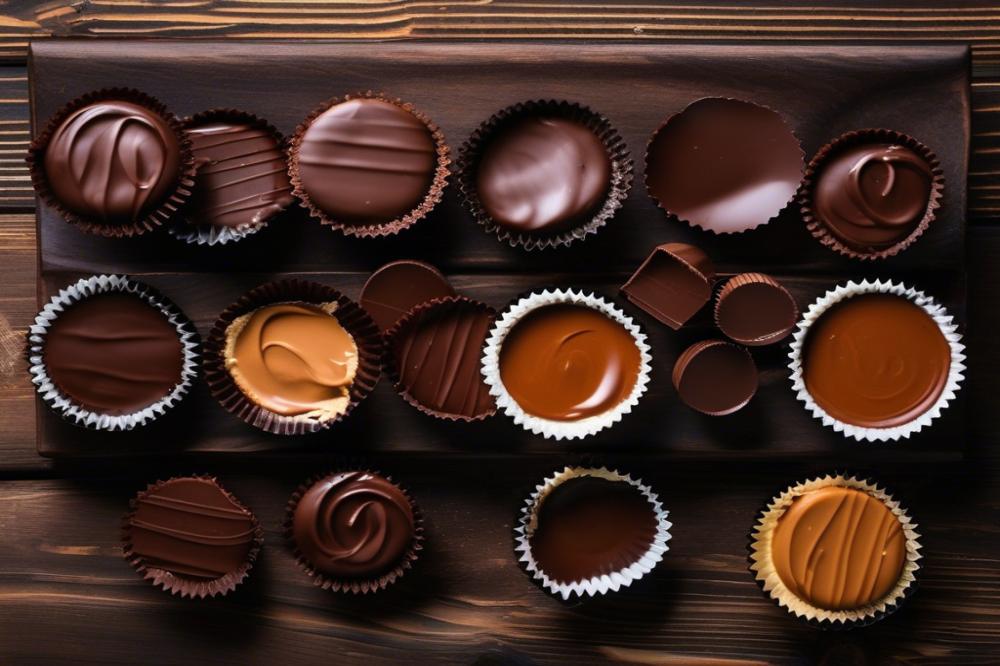
Plating your handmade sweets can elevate the experience. Consider using colorful cupcake liners for an inviting look. Arrange the treats on a decorative plate for sharing at gatherings. Sprinkling a bit of sea salt on top before serving adds a gourmet touch. You can also stack them in a glass jar, creating a layered effect. This idea draws the eye and makes a beautiful centerpiece.
Pairing Suggestions
Finding the right drink can complement your dessert nicely. A cold glass of milk works well, enhancing the rich flavors. Alternatively, serve with a warm cup of coffee for a delightful contrast. Hot chocolate might sound redundant, but it’s a cozy option. Do not overlook herbal teas; they can add a refreshing note. Combining these treats with your favorite ice cream could create a unique snack experience.
Storage Tips for Maintaining Freshness
Keeping your peanut butter cups fresh is simple. Store them in an airtight container to prevent drying out. A cool, dry place is ideal for extending their shelf life. Refrigeration can also work, especially if you live in a warmer climate. Just remember to let them sit at room temperature for a few minutes before enjoying. This way, they maintain the perfect balance of flavors and texture. Enjoying your easy recipe will be a delightful experience every time.
Variations and Customizations
Ideas for Flavor Variations
Start experimenting with different flavors for your peanut butter filling. A simple addition of vanilla extract can enhance the richness. Consider mixing in honey or maple syrup for extra sweetness. You might also try a bit of cinnamon or even a pinch of sea salt for contrast. For an extra kick, toss in some crushed pretzels or crispy rice for texture. Chocolate chips or butterscotch chips are delightful in peanut butter too. These small changes create fresh flavors in your treats.
Using Different Types of Chocolate
The type of chocolate can drastically change the taste of these sweets. Milk chocolate is the classic choice, sweet and creamy. Dark chocolate offers a richer, more intense flavor. White chocolate provides a sweeter, more buttery taste that some find irresistible. To shake things up, consider flavored chocolates like raspberry or mocha. You can also use dairy-free chocolate for a vegan option. Each chocolate choice leads to a unique dessert experience.
Creating Themed Treats for Holidays
Celebrations provide a perfect reason to make chocolate peanut butter cups festive. For Halloween, add orange food coloring to the peanut butter for a spooky look. Dipping the cups in colored chocolate can bring to life any holiday. During Christmas, sprinkle crushed peppermint on top for a minty twist. Use mini candy canes as decorative toppers or even mix in eggnog flavoring for a treat that embodies the season. For Easter, pastel-colored chocolate or sprinkles can brighten your dessert. The options are endless for creating delightful themed snacks.
Final Thoughts on Homemade Delights
Making chocolate peanut butter cups at home brings immense joy. From melting the chocolate to mixing the creamy filling, each step is a delight. The scent of melting chocolate fills the air, creating an inviting atmosphere. It’s a fun project that can easily bring out the inner child in anyone.
Do not hesitate to experiment with the ingredients in this easy recipe. Use dark chocolate instead of milk for a richer taste. You might add sea salt on top for a touch of contrast. Variations like adding crispy rice for crunch or swirling in some marshmallow fluff can also elevate your dessert. The kitchen is a canvas, and every creator can add their flair.
Sharing your finished creations with family and friends makes the experience even sweeter. Imagine the smiles on their faces as you present your homemade treats. Encourage others to join in on the fun. Create special moments while snacking together. By making these delicious cups, you also create lasting memories. Enjoy the process and every bite.

