Introduction
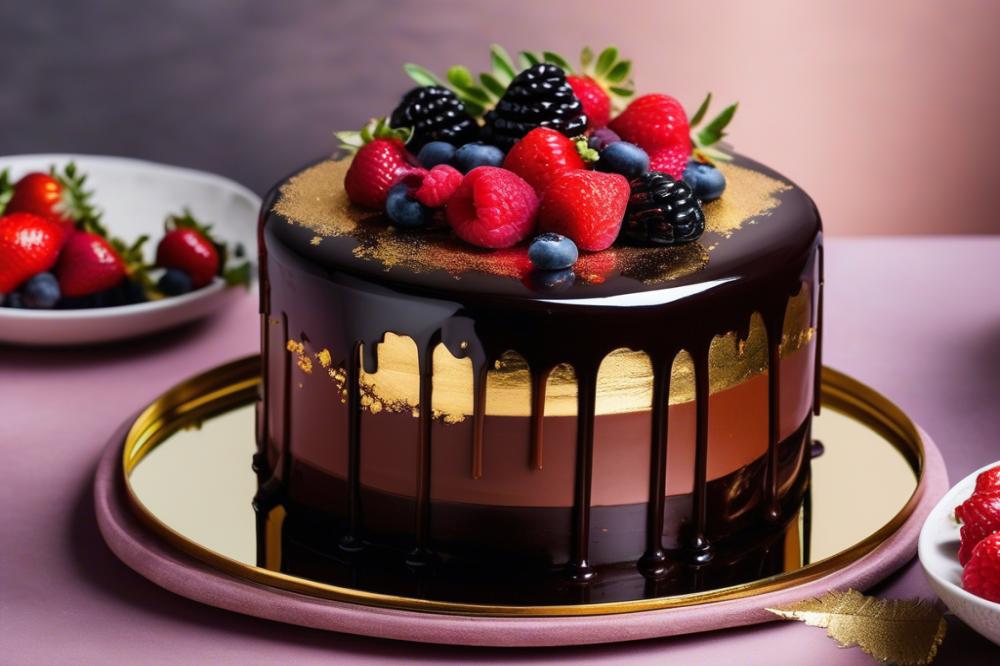
chocolate mirror glaze is a stunning topping that transforms ordinary cakes and desserts into extraordinary visual treats. This glossy finish enhances dessert presentation, making the sweets look professional and inviting. A shiny glaze not only captures light beautifully but also adds an air of sophistication that makes people want to dig in.
Bakers often use this dessert finishing technique for various applications. From cakes layered with ganache to pastries and desserts of all shapes, the chocolate coating serves as a perfect finish. This glaze can cover a simple cake or elevate a complex pastry, making each creation shine in its own right.
The allure of a well-glazed dessert cannot be overstated. It invites diners to appreciate the craftsmanship behind baking. When cakes and pastries look appealing, it reflects the care and effort that went into making them. A beautiful chocolate glaze may even inspire others to try baking, sparking their creativity in the kitchen. Ultimately, mastering a mirror glaze recipe can be a delightful journey into the art of baking for anyone eager to delight friends and family.
Understanding chocolate mirror glaze
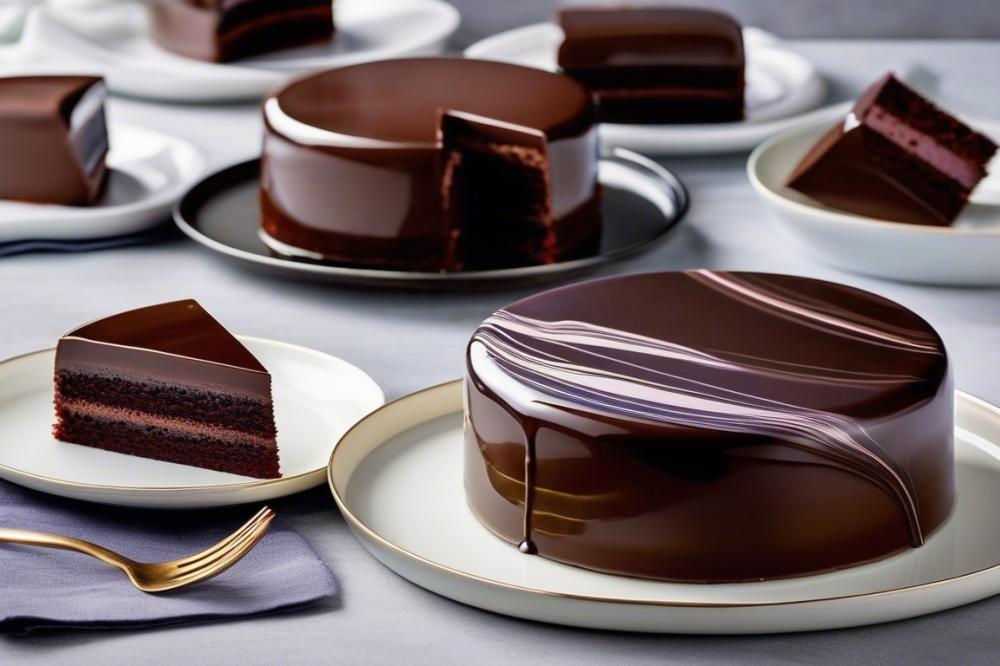
Chocolate mirror glaze is a stunning topping that enhances the visual appeal of desserts. It is glossy and smooth, often resembling a reflective surface, hence the name. This glaze is commonly used for coating cakes and other sweets, creating an elegant finish that catches the eye.
When comparing chocolate glaze with other types of glazes, certain differences stand out. Regular chocolate glaze often provides a rich layer of chocolate flavor but does not achieve the same shiny finish. In contrast, mirror glaze takes things a step further, combining flavors and aesthetics beautifully. Other glazes might use fruits or creams but lack the sleek appearance that a chocolate coating delivers.
The key components that contribute to the shiny finish include chocolate, sugar, and gelatin. These ingredients come together to create a smooth mixture. When heated and poured over a cake, the mixture cools to form a thin, shiny layer. Ganache, a blend of chocolate and cream, is also essential in the mirror glaze recipe. This luscious mix gives the glaze its creaminess and rich taste. Having the right balance of each component is crucial for achieving that perfect gleam on the dessert presentation.
For those interested in baking, mastering chocolate mirror glaze can transform simple desserts into works of art. The art of pastry decoration involves understanding how to manipulate temperatures and ingredients. Getting it right can elevate your cake from ordinary to extraordinary.
Ingredients for a Perfect Mirror Glaze Recipe
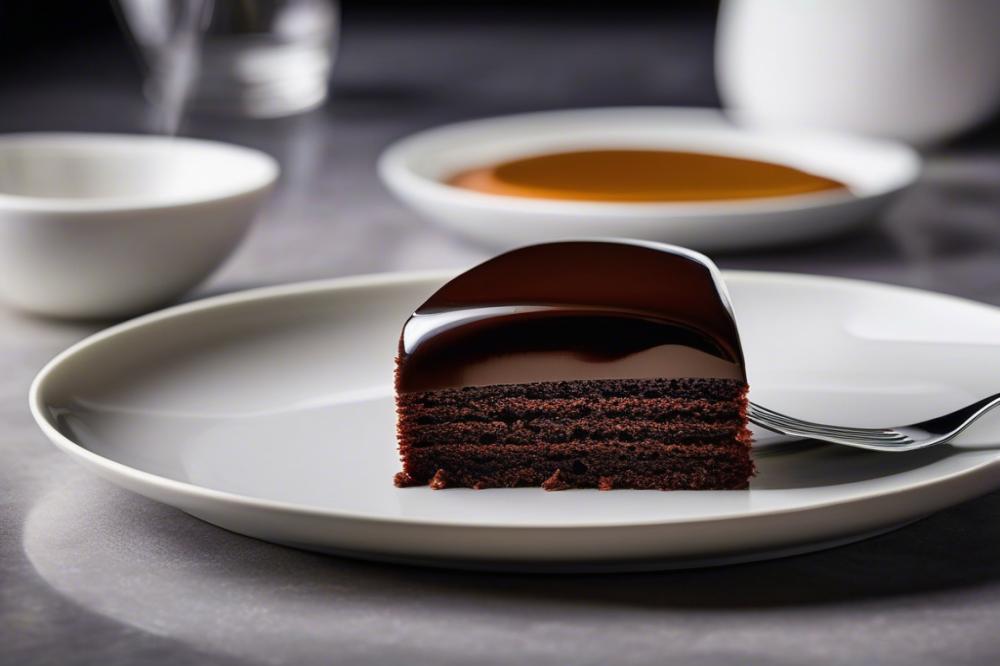
Creating a stunning chocolate mirror glaze requires specific ingredients that work together to achieve that desirable shiny coating. Here’s a detailed list of what you need:
- Dark chocolate: This serves as the base, offering a rich flavor and luxurious texture. Choose chocolate with at least 60% cocoa content for depth in taste.
- Heavy cream: It adds creaminess and smoothness to the glaze. The fat content in heavy cream helps create a velvety finish.
- Sugar: This sweetens the glaze. It also contributes to the glaze’s shine and texture.
- Water: Used to dissolve the sugar, water plays a key role in balancing the richness of the chocolate.
- Gelatin (or alternatives): Gelatin is crucial for stability. It helps the glaze set properly on cakes and other desserts. If you’re looking for vegan options, agar-agar can be a wonderful substitute.
Each ingredient plays its part in crafting a perfect chocolate glaze. The dark chocolate is the heart of this mirror glaze recipe, delivering the decadent flavor that pairs beautifully with cakes and pastries. Heavy cream complements the chocolate, making it smooth and easy to pour over your dessert for an elegant dessert presentation.
Sugar not only enriches sweetness but also influences the consistency, allowing the glaze to have that appealing, shiny glaze finish. Water, though simple, is essential for combining the sugar thoroughly, helping to prevent any graininess in your final product.
Gelatin’s role cannot be understated. By providing structure, it ensures the glaze holds up when poured, creating an even, glossy chocolate coating. If you prefer a plant-based alternative, explore using agar-agar to maintain the integrity of the glaze. The right balance of these ingredients leads to a ganache-like consistency that is perfect for pastry decoration.
Step-by-Step Guide to Crafting Chocolate Mirror Glaze
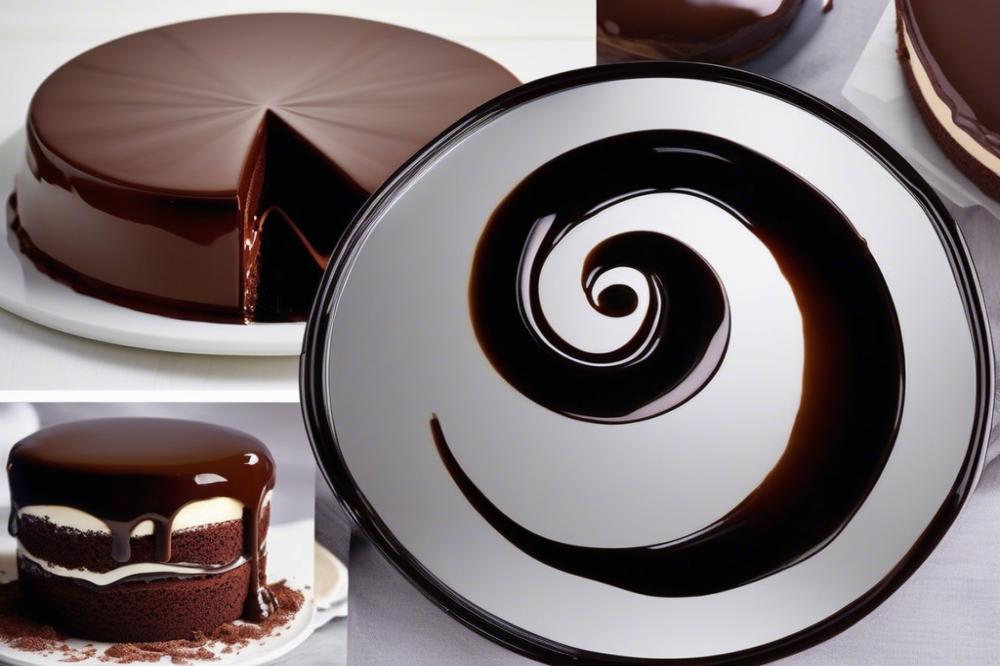
Preparing the Base Ganache
Creating a rich base ganache is the first step in making a glossy chocolate mirror glaze. Start by combining equal parts of heavy cream and high-quality chocolate. Heat the cream until it’s just about to simmer, then pour it over the chopped chocolate. Stir gently until everything is completely melted and smooth. This indulgent mixture will form the foundation for your shiny glaze.
How to Achieve the Right Consistency
The consistency of the ganache is crucial for the final look. It should be thick enough to coat cakes and desserts but still pourable. If it seems too thick, you can add a little more warm cream. When it flows effortlessly but holds its shape, it’s ready for the next steps.
Tips for Melting Chocolate Properly
Melting chocolate can be tricky. Use a double boiler to avoid scorching the chocolate. Alternatively, a microwave will work if you pay attention and heat it in short bursts. Always stop and stir in between heating sessions. This helps to prevent any bits from burning and helps achieve that perfect silky texture.
Incorporating Gelatin and Achieving a Smooth Mixture
Adding gelatin to your mixture will help it set beautifully. Start by blooming the gelatin in cold water. Allow it to sit for several minutes till it absorbs water. Once bloomed, stir it into your warm chocolate ganache. Mix thoroughly to fully incorporate the gelatin, ensuring no lumps remain. This step is key to achieving that smooth, shiny glaze.
Cooling and Resting the Glaze
Allow the chocolate coating to cool to the desired temperature. This often means waiting until it is around 90°F (32°C) before pouring over your cakes or desserts. Give it time to rest, as this helps the flavors develop and thickens the mixture slightly. Once perfect, it can be poured over your pastry decoration for stunning dessert presentation.
Techniques for Applying Chocolate Glaze on Desserts
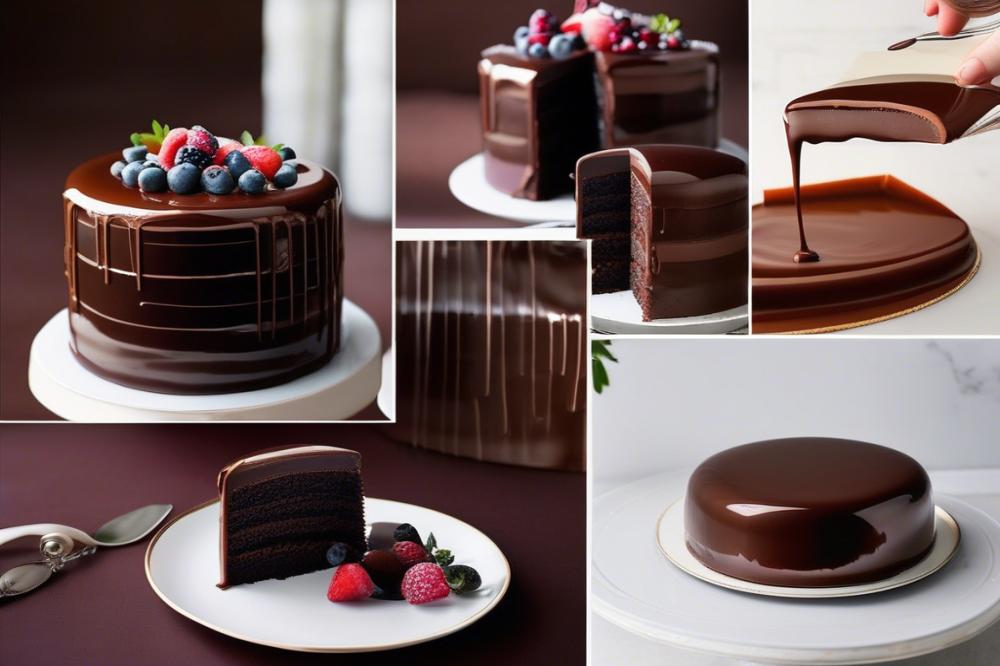
Preparing the dessert surface is a crucial step. Smoothness matters when it comes to creating that perfect shiny glaze. For cakes, trim any uneven edges. Pastries should also be chilled to help the glaze set properly. This step can greatly enhance the overall appearance of your dessert.
Optimal Temperature for Glaze Application
Temperature plays an important role in glaze application. A chocolate glaze should typically be between 90°F and 95°F for ideal pouring. When it’s too cold, it solidifies quickly. If it’s too warm, the glaze may not coat evenly. Finding the right balance will maximize the effect.
Methods for Pouring and Spreading the Glaze
Pouring the glaze can be done in several ways. One common method is to pour it directly from a measuring cup. Another is to ladle the chocolate glaze over the dessert. Some bakers prefer using a spatula to spread it evenly. Each method has its advantages, so experiment to see what works best for you.
Achieving an Even Coat and Avoiding Drips
Creating a smooth, even coat requires a steady hand. Start at the center and move outward. Allow excess glaze to drip off the edges. This process prevents heavy accumulation at the base. Using a rotating turntable can also aid in achieving a uniform layer.
Troubleshooting Common Issues During Application
Sometimes, things don’t go as planned. If the chocolate glaze is too thick, it may not flow properly. Thin it with a small amount of warm cream. If air bubbles appear, gently tap the sides of your cake. This step helps release trapped air and prevents imperfections.
In case of an uneven coat, you can reheat the glaze slightly and reapply. Using a smooth motion will help create that stunning finish. Pay attention to temperature and consistency. With a little practice, you’ll master the art of pastry decoration.
Creative Uses of Chocolate Mirror Glaze
Decorating cakes and other desserts becomes an exciting journey with the use of a shiny glaze. A simple chocolate coating elevates the appearance and delight of any treat. Imagine a smooth, reflective surface on a cake draped in dark chocolate. This eye-catching finish can turn an ordinary dessert into an impressive centerpiece.
Ideas for Decorating Cakes and Other Desserts
Cakes are not the only dessert that can benefit from this technique. Tarts, mousses, and even cupcakes can be enhanced with a mirror glaze recipe. To achieve dramatic designs, try dripping the glaze down the sides of a cake. This creates a beautiful cascading effect. Another idea is to pour the glaze over individual desserts, allowing excess to pool on the plate for an elegant look.
Incorporating Colors and Flavors into the Glaze
Adding colors to the chocolate glaze opens new avenues for creativity. Gel food coloring blends well without altering the consistency. Create a rainbow of colors for a festive dessert. Flavor extracts are another way to customize the glaze. Consider peppermint, orange, or hazelnut to surprise your guests with flavor combinations.
Examples of Pastry Decoration Techniques
Pastry decoration can become a fun experiment with mirror glaze. For instance, you can use a comb or a spatula to create textured designs on the surface. This adds depth and character to your work. Drizzle contrasting chocolate ganache over the top for an added layer of complexity. Sprinkles or edible glitter can also enhance the final presentation.
Pairing Glaze with Various Types of Desserts
When serving desserts, pairing them with the chocolate glaze matters. Consider rich, dense cakes like flourless chocolate for a luxurious taste. The silky texture of the glaze complements these desserts beautifully. For lighter options, try pairing it with fruit tarts. The balance of the rich, shiny glaze with the acidity of fresh fruit creates harmony in flavor and visual appeal.
As you explore the world of baking, remember that presentation is key. Utilizing a mirror glaze not only improves appearance but also entices the palate. With practice, you will discover new techniques that reflect your style. Each dessert becomes a canvas, waiting for the perfect finishing touch.
Final Thoughts on Chocolate Mirror Glaze
Baking often isn’t just about taste; it’s also about how a dessert looks. A beautiful finish can elevate even the simplest of pastries. The chocolate mirror glaze plays a vital role in dessert presentation, transforming cakes and treats into stunning visual masterpieces. Its glossy, reflective surface captures attention and invites indulgence.
Feel free to experiment with different recipes and methods. There are countless variations to try, from adding flavors like espresso to incorporating colorful ingredients that set off the rich chocolate tones. Don’t be afraid to make mistakes; each attempt offers lessons that will enhance your technique.
When you use a chocolate glaze, you’re not just dressing up a dessert. You’re expressing creativity and delight in the art of baking. A well-applied glaze can conceal imperfections and enhance the overall design of your dessert. Think of it as the finishing touch that ties everything together. Whether it’s for a special occasion or just an everyday treat, a rich glossy layer adds elegance.
Take the time to master your own mirror glaze recipe. With practice, you’ll gain confidence and develop a signature style. So go ahead, immerse yourself in the joy of baking, and let your desserts shine!

