The Art of Baking Chocolate Babka at Home
Chocolate Babka, a delightful sweet bread, has captured the hearts of many with its rich flavors and whimsical design. This beloved dessert has roots in Jewish cuisine, where its origins trace back to Eastern Europe. Traditionally made for special occasions, this yeast bread combines a soft, brioche-like dough with a luscious chocolate filling. Over time, the treat has transcended cultural boundaries. Today, it enjoys popularity not only among Jewish communities but also in cafes and bakeries around the world.
The allure of homemade babka is undeniable. When you bake this decadent dessert at home, you embark on a journey of flavors and textures. Imagine the aroma wafting through your kitchen as the dough rises and the chocolate mingles with hints of cinnamon or nutmeg. Each step in the process—from kneading the dough to carefully crafting the braided bread—fills one with a sense of accomplishment. Learning to make a babka recipe serves as a wonderful introduction to Baking at Home.
Mastering the craft of creating this unique sweet bread can be incredibly rewarding. The process doesn’t just come down to following a recipe; it’s about the joy that comes with each fold and twist. Sharing homemade babka with friends and family provides a connection. It’s not just a treat, but a celebration of love and effort. A well-made babka can make even the simplest gathering feel special.
Throughout this article, we will explore essential baking tips to help you create your very own chocolate-filled masterpiece. The journey begins with choosing the right ingredients, particularly flour and yeast. Factors like temperature and humidity play a significant role in achieving the perfect dough. Learning the proper techniques can elevate your attempts at this cherished dessert.
Understanding Babka
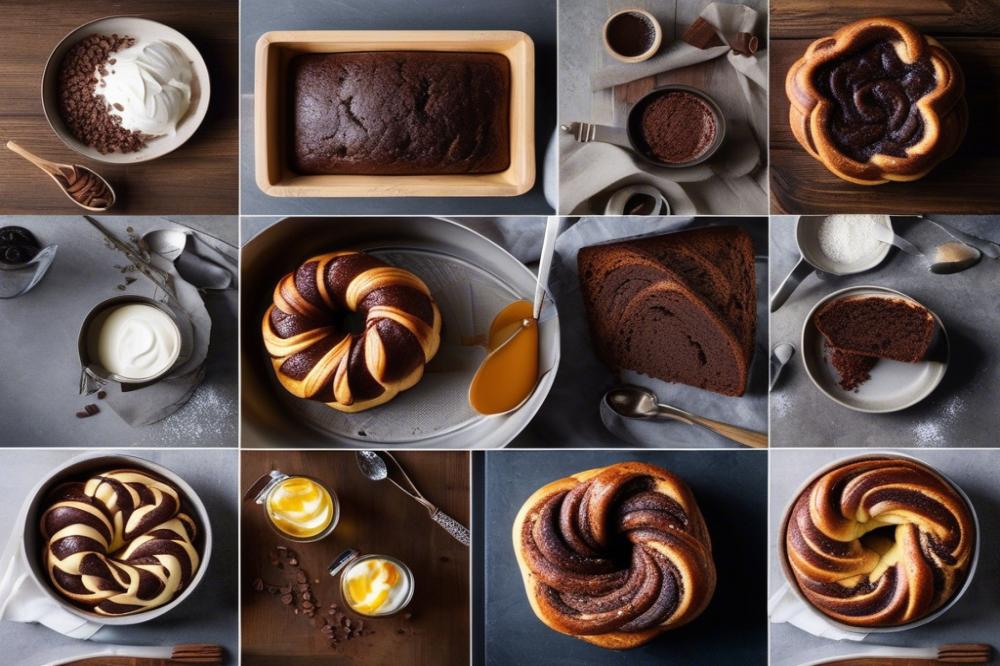
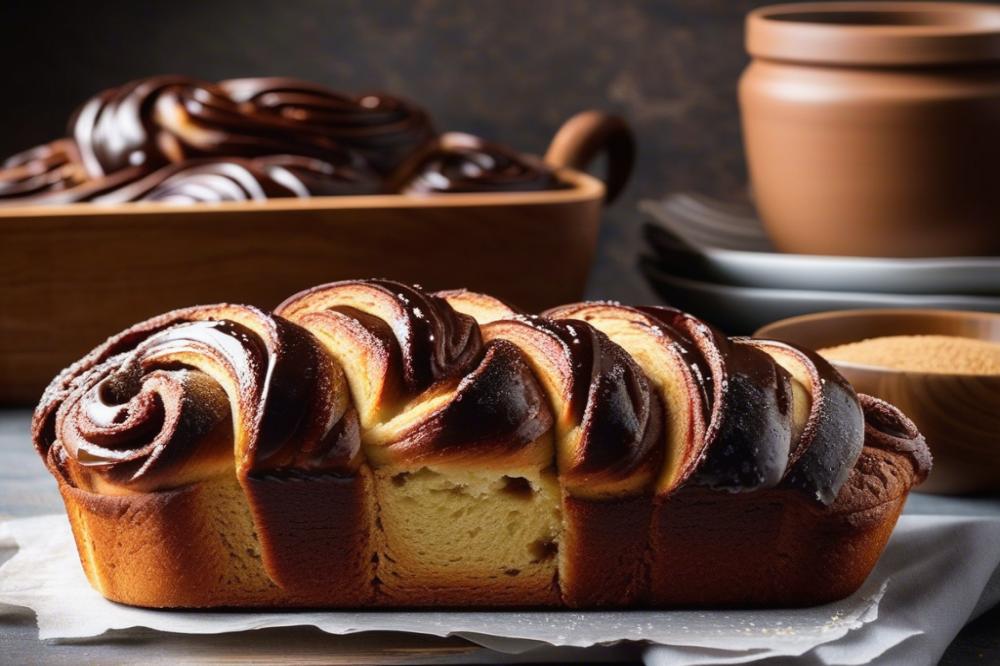
Babka is a type of sweet bread that features a rich, tender dough. Its origins can be traced back to Jewish communities in Eastern Europe. This delightful treat is often filled with chocolate, cinnamon, or nut mixtures and shaped into a twisted loaf. The beautiful braided presentation makes it a popular choice for desserts or special occasions.
Using a dough similar to challah is key to crafting perfect babka. This rich yeast bread is made with eggs, butter, and sugar, resulting in a soft texture. The addition of butter gives it a velvety richness that complements the sweet filling. A well-made dough holds the filling securely while providing a delightful chew.
Babka has a fascinating history. Initially, it was simply a way to use leftover dough and fillings from other baking. As time went on, it evolved into a beloved dessert. Traditional variations often include cinnamon, poppy seed, or fruit fillings. However, modern adaptations have introduced numerous flavors, including gourmet versions with chocolate filling and nuts.
When making homemade babka, the method is just as important as the ingredients. The dough needs time to rise properly. Be patient, as this allows the yeast to develop flavor and texture. After rolling out the dough, spreading the chocolate filling evenly is crucial. It should cover the surface well to create a rich taste in every bite.
Braiding the dough requires some technique but can be fun. Start by slicing the filled dough into strips, then twist and shape them into a loaf. This method adds visual appeal as well as texture. Following baking tips can improve your results. Monitoring the oven temperature prevents burning and ensures even cooking.
Savoring a slice of babka offers more than just delicious flavor. It represents a blend of cultural history and personal creativity. Baking this sweet bread at home can be a rewarding experience, leading to a culinary journey that connects traditions with modern tastes. Enjoy the process, and celebrate the outcome as a delightful dessert option for friends and family.
Ingredients for Chocolate Babka
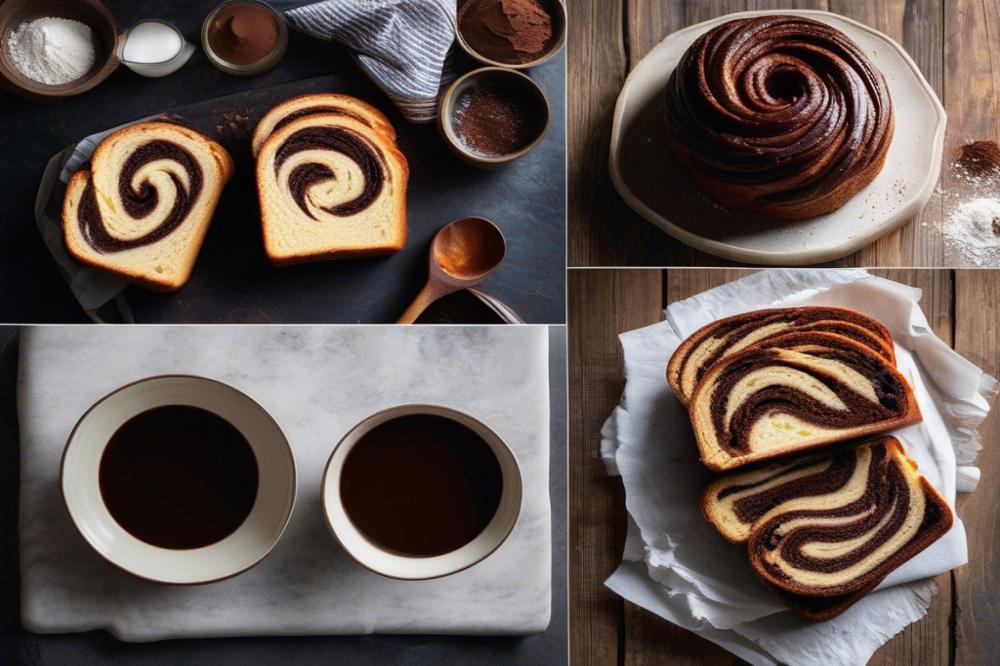
Baking a delightful chocolate babka requires a selection of essential ingredients. These items come together to create a rich and indulgent dessert, perfect for any occasion.
The base of the dough typically involves all-purpose flour. You will need approximately 4 cups of flour to form the structure of the sweet bread. Adding sugar brings in the sweetness. About half a cup is ideal, enhancing the flavor without overwhelming it.
Next, eggs play a vital role in building a moist and tender texture. This babka recipe calls for three large eggs. They also introduce richness to the mix. Another key ingredient is unsalted butter. Use one stick, or about 113 grams, which needs to be softened to blend well.
Milk is another crucial element, adding moisture and flavor. A cup of whole milk should do the trick. Yeast is pivotal for rising, so you will need two and a quarter teaspoons of active dry yeast to create that airy texture typical in yeast bread.
When it comes to the chocolate filling, the requirements change slightly. A cup of semi-sweet cocoa powder offers deep chocolate flavor, mixed with about one cup of brown sugar. This combination ensures a rich, gooey center that is simply divine. To make the filling even more luscious, include a quarter cup of softened butter. A pinch of salt is added to balance the sweetness.
Quality ingredients matter greatly when baking. Using fresh yeast, high-quality cocoa, and unsalted butter enhances the flavor and texture of your homemade babka. Choose ingredients with care. This attention to detail can elevate your dessert from good to unforgettable.
With the right components in their proper amounts, you’re well on your way to creating a stunning braided bread. Follow the baking tips closely, and your chocolate filling will be irresistibly gooey and flavorful. A great babka not only pleases the palate but also results in a visually appealing centerpiece for any gathering.
Making the Dough
Preparing the dough for your homemade babka begins with activating the yeast. Use warm water, about 110°F (43°C); it should feel pleasantly warm to your touch. Sprinkle the yeast over the water, then let it sit for about five to ten minutes. You should see bubbles forming, a sign that the yeast is alive and ready to work its magic in this sweet bread.
In a large bowl, combine flour, sugar, and a pinch of salt. Creating this dry mixture first allows the flavors to distribute evenly. Next, make a well in the center and add the activated yeast mixture. Toss in an egg and melted butter to the mix. The richness from the butter and egg will elevate the texture and flavor of your dough.
Stir the ingredients together until a shaggy mass forms. At this point, the dough will be sticky but that’s just fine. It’s essential to knead the dough on a floured surface. Lightly flour your hands and the work area to prevent sticking. Knead by pushing the dough away with your palm, folding it back to yourself, and repeating this process. Aim for about eight to ten minutes of this action. The dough should become smooth, soft, and elastic, a perfect base for the chocolate filling that follows.
Rising time is crucial. Place the kneaded dough in a greased bowl and cover it with a damp cloth or plastic wrap. Allow it to sit in a warm spot for about one to two hours. It should double in size. A good tip is to place it in an oven that’s turned off but slightly warmed. This helps create a cozy environment for the yeast bread.
After the first rise, gently punch down the dough to release excess air. Shape it into a ball again, then cover it and let it rise once more for about 30 minutes. This second rise enhances the flavor and texture. It’s a vital part of the baking tips for creating a lovely, airy babka.
When handling the dough, keep your workspace slightly floured to maintain its soft texture. After the final rise, roll out the dough into a rectangle. Spread the chocolate filling evenly over it before rolling tightly into a log. The next step is cutting and twisting the log to form the braided bread shape.
This is how you turn simple ingredients into a delightful dessert. By following these techniques, your chocolate babka will turn out beautifully flavorful and irresistibly soft. Happy baking!
Preparing the Chocolate Filling
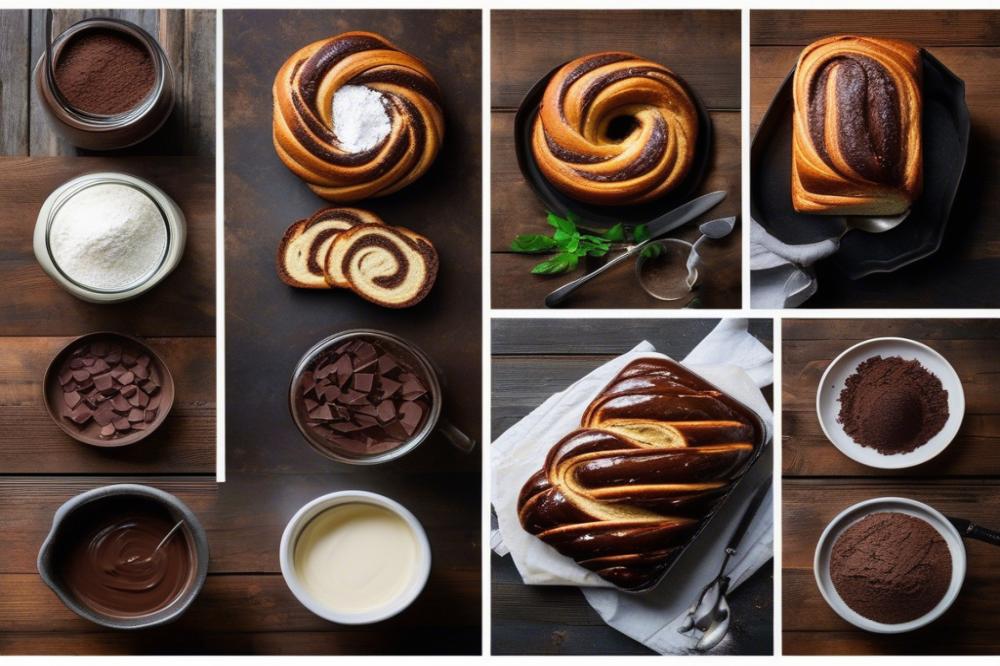
Creating the rich chocolate filling for your babka is a delightful step that can make your homemade babka truly special. Start by gathering the necessary ingredients for this luscious filling. You will need powdered sugar, unsweetened cocoa powder, melted chocolate, and softened butter. Each component adds to the chocolate flavor and creates a smooth texture.
First, measure out half a cup of powdered sugar and place it in a mixing bowl. Next, add a quarter cup of unsweetened cocoa powder to the bowl. This combination forms the base of your chocolate filling, bringing depth to the sweet treat. Melt about four ounces of dark chocolate in a microwave or over a double boiler. If using a microwave, heat it in short bursts of 20 seconds to avoid burning. Stir until completely smooth.
Once the chocolate is melted, let it cool slightly before adding it to the dry ingredients. Now, add three tablespoons of softened butter into the bowl with the powdered sugar and cocoa powder. Using a spatula or a whisk, mix everything together until the butter is well incorporated and the mixture is crumbly. Slowly pour in the melted chocolate while continuing to stir. This will help combine all the ingredients.
Next, add about two tablespoons of milk or cream to adjust the consistency. Depending on your preference, you can use whole milk for richness or heavy cream for a thicker filling. Mix until you achieve a spreadable paste. If the filling seems too thick, add more milk, a little at a time, until it reaches your desired texture. The goal is to have a creamy filling that can be easily spread on the dough.
Remember that this chocolate filling can also be customized! For a little extra flavor, consider adding a teaspoon of vanilla extract or even a dash of espresso powder. Both options can intensify the chocolate taste and make your sweet bread stand out. Keep in mind the balance between ingredients to maintain the right flavor profile.
Once you’re happy with the consistency and flavor of your filling, it’s time to prepare the braided bread. Spread it generously over your rolled-out dough, making sure to cover the entire surface. Leaving a small border around the edges will help with sealing. With this creamy and rich chocolate filling at hand, you’re one step closer to baking a stunning dessert that is both beautiful and delicious.
Shaping and Braiding the Babka
Shaping the dough for your homemade babka is a crucial moment in the baking process. Start by rolling out the dough on a floured surface. Aim for a rectangle about ¼ inch thick. The size can vary, but generally a 12 by 18-inch rectangle works well. Next, grab your chocolate filling. Spread it evenly across the surface, leaving a small border on all sides. Don’t skimp on this step; the filling adds rich flavor.
After spreading the chocolate, it’s time to roll the dough tightly. Begin at one long edge and roll toward the opposite side. The tighter the roll, the better the layers will hold when baking. Once rolled, pinch the seam to seal it. You’ll have a long tube of chocolate goodness now. With a sharp knife, carefully cut the roll in half lengthwise. You want two equal halves, so make sure to apply gentle pressure to prevent squishing the dough.
Now comes the fun part: braiding the dough. Lay the two halves cut-side up. Cross one piece over the other to form an ‘X’. Keep crossing the pieces over one another in a pattern, ensuring the chocolate filling is visible. This braiding technique creates a beautiful, intricate look. It’s similar to making challah, but you’ll want to make sure not to remove too much air from the dough.
For a more unique appearance, consider twisting the pieces before placing them in the loaf pan. Each twist adds an artistic touch. Place your braided bread into a greased pan, careful not to squish the shape. Allow it to rise a bit more. This final rise will let the yeast bread expand beautifully in the oven.
To achieve an aesthetically pleasing final product, take time with each step. Don’t rush when you spread the chocolate or roll the dough. Beautiful desserts often come from patience. When baking tips arise, remember that a good glaze after baking can elevate the look. A simple sugar glaze made of powdered sugar and milk can add a lovely sheen. After it cools, drizzle this sweet mixture on top. It gives an extra finish that makes the babka irresistible!
Baking the Chocolate Babka
Now, let’s dive into the baking process to create a delightful babka recipe. Start by preheating your oven to 350°F (175°C). This temperature is perfect for achieving a rich, golden-brown crust. While the oven heats up, prepare your braided bread. If you’ve done everything right, your dough will have risen well and be ready for the next steps.
After shaping your dough, it’s time to fill and assemble. Roll it out into a rectangle. Spread a generous layer of chocolate filling evenly over the surface. Then, roll the dough tightly from the long edge to create a log-like shape. Once rolled, slice this log lengthwise in half to reveal its beautiful layers. Remember to twist the two halves together in a braided formation. This technique not only enhances aesthetics but also adds to the texture.
Place the shaped babka in a prepared loaf pan. Let it proof for about 30-45 minutes. This step allows the yeast bread to rise again, resulting in a light and airy final product. Both taste and texture will improve after this important waiting period.
Once the proofing is complete, bake the babka for approximately 30-40 minutes. Keep a watchful eye during the last 10 minutes. You want it to achieve an impressive crust without burning. A good tip is to rotate the pan halfway through baking for even browning.
To check for doneness, insert a toothpick into the thickest part of the bread. It should come out clean or with just a few crumbs attached. If your homemade babka has a rich, dark color and sounds hollow when tapped, it’s likely done. The aroma filling your kitchen will also signal that something delicious is happening.
After removing from the oven, let the babka cool in the pan for 10 minutes. Next, transfer it to a wire rack to cool fully before slicing. This will help maintain its moisture while giving the crust the chance to set nicely. Enjoying your chocolate babka as a dessert or a sweet bread with coffee is a wonderful experience.
For those who prefer a softer crust, consider covering the bread with foil during the last few minutes of baking. This will keep the top from getting too hard. On the other hand, if you want a crunchier finish, leave the babka uncovered for the full bake. Each approach has its merits, so feel free to experiment until you find the perfect balance.
Baking Tips for Success
Baking homemade babka can be a rewarding experience. Start with a good babka recipe. Pay close attention to your ingredients. Quality chocolate will elevate your dessert. Use chocolate filling that melts well and has rich flavor. This choice can truly make a difference in the final result.
Proper dough handling is vital for achieving the best results. Knead your dough until it feels smooth and elastic. Allow it to rise in a warm area, covering it with a damp towel. If you encounter dough rising problems, check the freshness of your yeast. Old yeast can lead to flat bread. Also, try letting the dough proof longer if it’s not rising enough. Patience is key when making yeast bread.
Chocolate can spill during the twisting and braiding process. To avoid this, roll your dough tightly when creating the shape. Squeeze out any excess air as you roll it up. When braiding, keep the chocolate filling contained by tucking it in. Using a parchment-lined baking pan helps catch any drips.
Feel free to get creative by adding different flavors. Nuts such as walnuts or hazelnuts can give your babka a delightful texture. Spices like cinnamon or cardamom can provide a warm sweetness. A drizzle of coffee glaze on top also adds a unique twist to your sweet bread. You might even consider incorporating dried fruit or chocolate chips for extra surprises.
Don’t forget to watch the baking time closely. Each oven varies, so keep an eye on your babka as it bakes. A golden-brown color is an excellent indicator. If the top is browning too quickly, cover it loosely with foil. This helps prevent burning while allowing the center to finish baking.
Embracing the Joy of Homemade Babka
Baking Chocolate Babka at home brings a special kind of joy. This beautifully twisted bread not only tastes amazing, but the process itself is rewarding. Mixing and kneading dough can be incredibly therapeutic. As the dough rises and the aroma fills your kitchen, anticipation grows. Each step is an invitation for creativity.
Experimentation can lead to delightful surprises. Consider different flavors for the chocolate filling. Almonds, hazelnuts, or even dried fruits can elevate your creation. Don’t hesitate to try various toppings like a sprinkle of sea salt or a drizzle of icing. The goal is to find a combination that resonates with your taste.
Sharing your homemade babka is a cherished experience. Friends and family will appreciate the effort you’ve put into your baking journey. Watching them savor each bite while they marvel at your handiwork is priceless. Moments like these create lasting memories.
The pleasure of baking is as rich as the chocolate within the babka recipe itself. Every loaf tells a story of care and craftsmanship. So roll up your sleeves, enjoy the process, and let your personal touch shine through. The hearth of your home will turn into a warm haven, filled with love and delightful scents. Happy baking!

